The gap between “somebody should make this” and “you can buy this” is almost never a shortage of ideas. It is a manufacturing problem. Here is what actually happens between the two, using the path every piece in our catalogue takes.
1. It starts with an annoyance
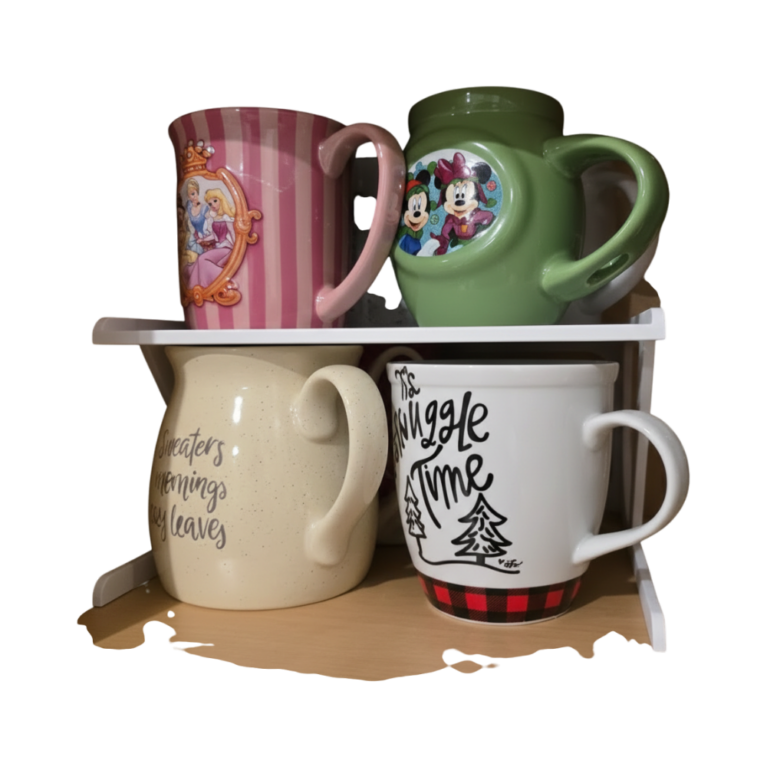
Most designs begin with something not working. A drawer that swallows everything. A shelf that will not fit the wall that exists. A controller that lives on the floor because nothing holds it. The best briefs are complaints.
We keep a running list. Most of it never gets made — an annoyance has to be common enough to be worth solving and specific enough to solve properly.
2. Sketch, then model
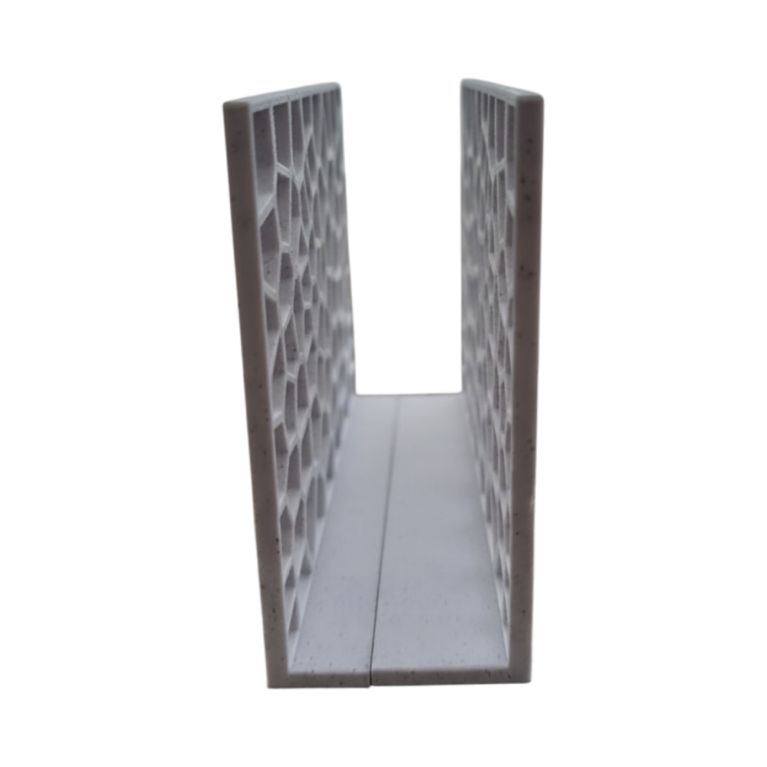
A quick sketch settles proportion and how the thing is meant to be used. The CAD model settles everything else: wall thicknesses, radii, how it sits on a surface, where the load goes, whether it can be printed without support.
That last point is a design decision, not a production one. A part drawn so its critical faces do not need support comes out cleaner, faster and cheaper. Designing around the process is the process — more on that in our piece on designing for 3D printing.
3. First print, and the honest bit
The first physical version is usually wrong in at least one way that was invisible on screen. A lip that is uncomfortable. A base that rocks a millimetre. A wall that flexes when you actually load it.
This is the step that makes the whole model worth it. Because there is no tooling, being wrong costs a few hours rather than a five-figure mould revision. Nobody has to defend a bad decision to protect an investment.
4. Use it for a week
Printed parts get taken home and used. A kitchen piece goes in a kitchen. A desk piece goes on a desk. A week of real use finds problems that no amount of staring at a model will.
This is where the majority of revisions come from, and it is why a listed product is typically on its fifth to fifteenth version rather than its first.
5. Material and orientation
Once the geometry is settled, two production decisions get locked. Material — decided by where the piece will live and what it has to resist, covered in our materials guide. Orientation — printed parts are stronger across layers than between them, so the build direction is chosen to put the strong axis where the load is.
Getting either wrong produces a part that looks identical and fails early. Getting both right is most of what separates a manufactured product from a printed novelty.
6. Photograph, write, list
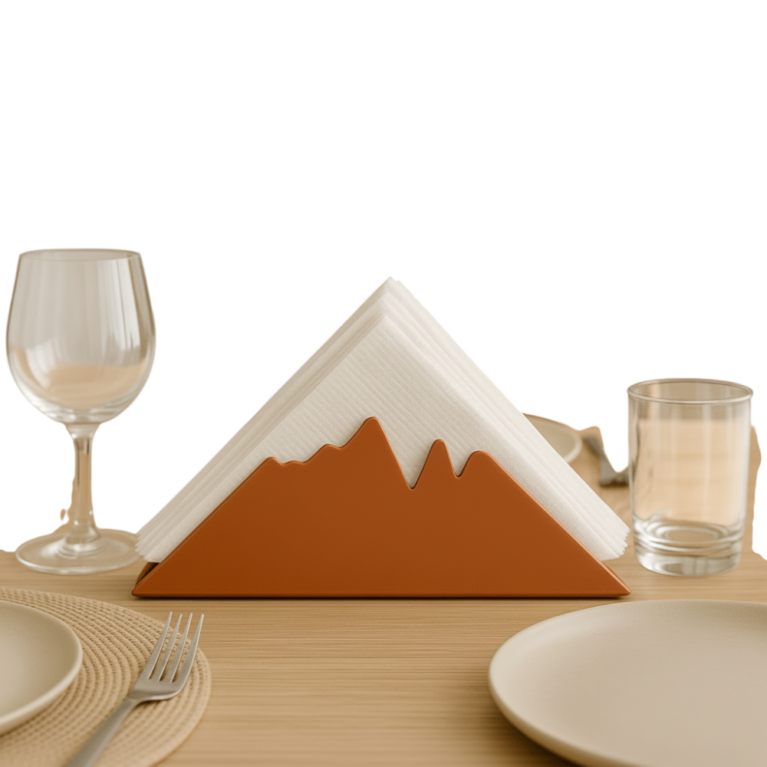
Then it gets photographed, measured, written up and listed. The measurements go on file, which is why we can answer “will it fit my drawer” with a number rather than a guess.
7. It gets made when you order it
Nothing is produced in advance. When an order comes in, that piece is printed, finished by hand, inspected and packed. That is why there is a short production window before dispatch, and why colour is a choice rather than a stock level.
8. It never really stops
A listed design is not frozen. If a piece comes back with a recurring problem, or somebody suggests something obvious we missed, the file changes and the next one made is better. No recall, no retooling, no waiting out existing stock — because there is no existing stock.
That is the part of the loop conventional manufacturing structurally cannot copy, and it is why we build this way.
If you have an annoyance of your own
The list of things that should exist is much longer than what any one workshop can get to. If you have a specific one — a fit problem, a discontinued part, a small batch with a deadline — that is a commission, and it is a normal conversation here rather than an exception. Tell us what is annoying you.